

Mojavatar Maker
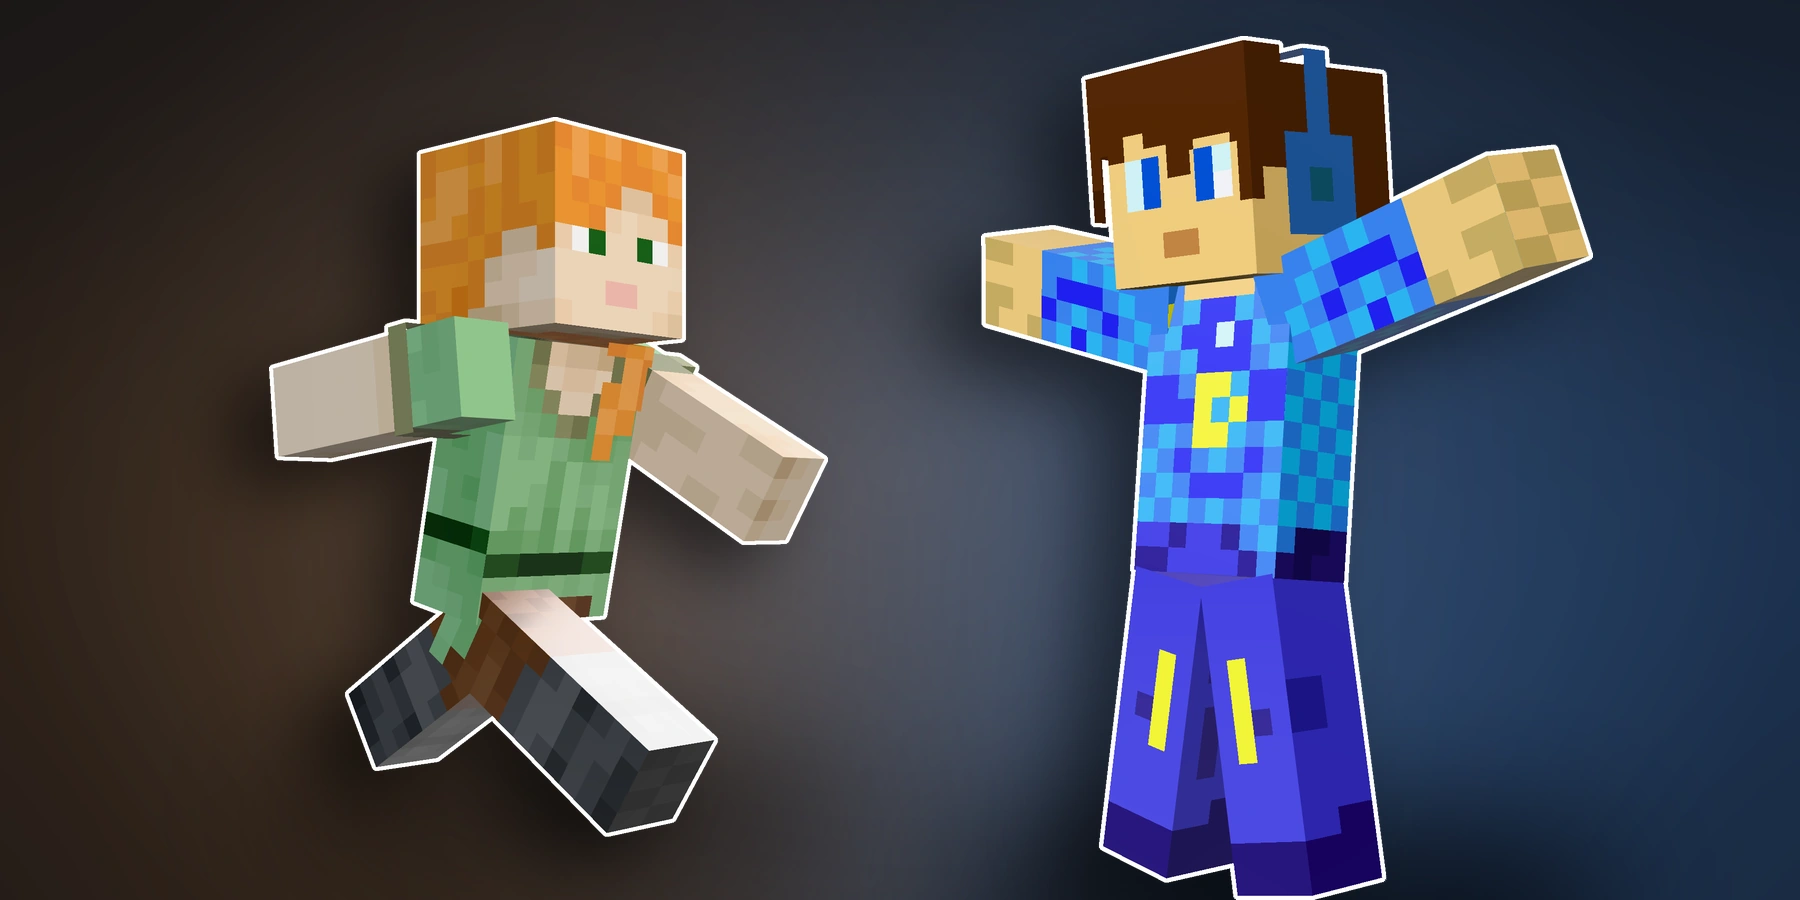
A Mojavatar is the chibi, big-headed 3D avatar that Mojang uses for its own staff portraits. This free, fan-made Minecraft chibi skin renderer (not an official Mojang tool) builds one from any skin: type a Java username, upload a skin PNG, or drop one straight onto the model. Pose it, light it, restyle it, and export it as a PNG, an animated GIF, or a GLB or OBJ 3D model. It needs no account, and it runs entirely in your browser: a skin you upload never leaves your computer.
Preview
Actions
Settings
From the maker of this tool
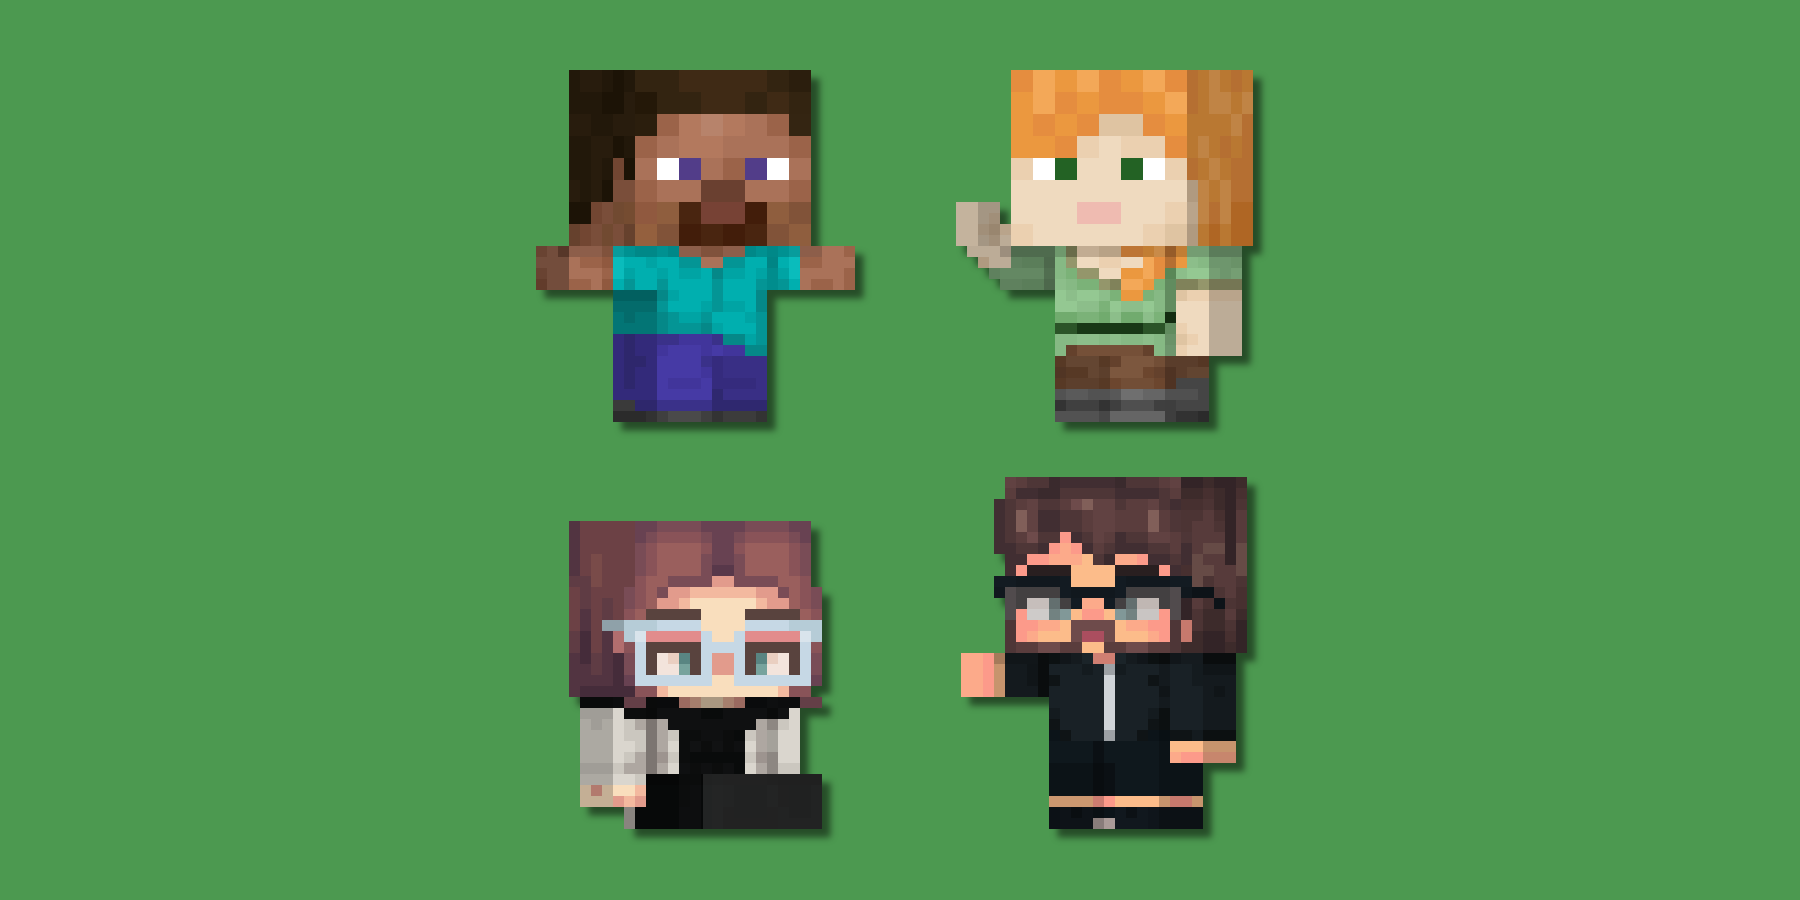
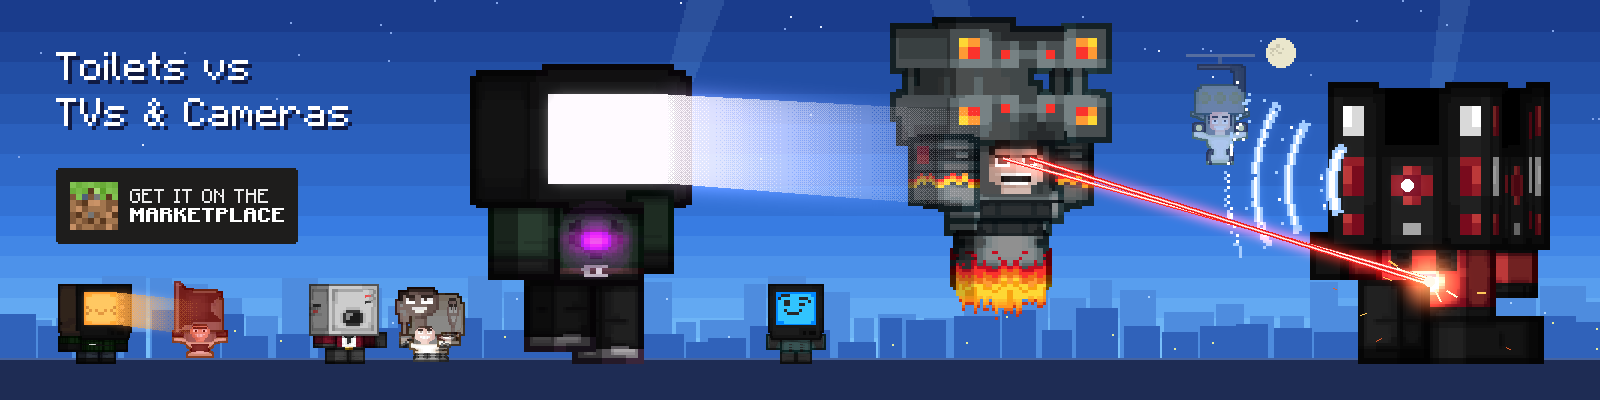
The banner below is our own Minecraft Marketplace skin pack, Toilets vs TVs & Cameras. Its characters are the pack's skins drawn as flat pixel-art chibis with our Minecraft Chibi Skin Maker, the 2D cousin of the 3D chibi avatars made here.
FAQ
How do I load my Minecraft skin, and which skin sizes are supported?
There are three ways to load a skin:
- Username - Type your Minecraft Java Edition username and click "Load Skin" to fetch it automatically.
- File upload - Press the Skin PNG tile in the Skin card and pick a file from your computer.
- Drag and drop - Drop a skin PNG (or a .bbmodel) straight onto the model. The viewer lights up as a drop target.
Standard 64x64, legacy 64x32, and HD skins at any power-of-two size: 128x128, 256x256, 512x512 and up. The rule is simply a 1:1 or 2:1 image whose width is a power of two. HD skins keep their full detail: the texture is used at its native resolution, and the Pixelated filter keeps the edges crisp.
What is "8px UV height"? Standard skins give the body, arms and legs 12 pixels of vertical texture space. Some specialised skins pack that detail into only 8 pixels instead. If yours is one of them, tick 8px UV height in the Skin settings and the viewer remaps the UVs so the texture is not stretched. Leave it off for normal Minecraft skins.
What's the difference between Steve and Alex?
Steve has 4-pixel wide arms, Alex has 3-pixel wide arms. These are Minecraft's two default player models (the classic and slim body types), and using the wrong one makes the arm texture render incorrectly.
You should not have to care. The switch sits at the top of the Skin card and is set to Auto, which reads the body type straight out of the skin: a slim skin leaves the wide-only strips of its texture empty, so the tool can simply look. Auto always tells you what it chose: on a desktop the type it picked is marked with a dot, and on a phone, where the switch is a dropdown, it reads "Auto (Alex)".
Pick Steve or Alex yourself and that choice is locked: loading another skin will not overrule you. Go back to Auto and it re-reads the skin you already have. Switching between the two keeps your pose and your skin.
Why is my Dinnerbone or Grumm skin upside down?
Because that is how Minecraft renders it, and the tool matches the game.
Accounts named Dinnerbone or Grumm are served a skin whose PNG is stored flipped top to bottom, so every texture region sits in the wrong place. A viewer that does not know this shows a blank face with the artwork down in the torso. Mojavatar un-flips the sheet so the regions line up again, then turns the finished avatar upside down.
It works this out from the texture itself rather than from the username, so uploading one of those skins as a PNG, or a re-hosted copy of one, gets the same treatment. Everything else still works normally on it: posing, materials, lighting and every export.
How do I pose the model?
Open the Pose tab and pick a preset: T-pose, Waving, Walking, Running, Sitting, Cheering, Crouching, Aiming, Zombie or Mining. That is one click and it is usually all you need. Under the presets, the Busts group aims the camera at part of the figure: Full Body, Half Body (waist up, so the arms and the whole gesture stay in frame), Portrait (head and shoulders) and Head. It is framing rather than a pose, so it keeps whichever pose you picked and works from whatever angle you are orbited to. It moves the camera rather than cropping the picture, so orbiting or picking a new angle afterwards simply carries on from there.
To pose by hand, click a body part in the viewport (it lights up as you hover it). The part highlights, and a Selected part editor with Position / Rotation / Scale appears above the option cards. There is no mode to turn on first.
- Tap a body part to select it, then pick the Move, Rotate or Scale tool.
- Drag a number field sideways to scrub it, or tap the minus and plus buttons either side. Tap the number itself to type an exact value.
- Shift+click (desktop) selects several parts at once.
- Click empty space to deselect.
- Part / Cube switch - Above the position fields. In Part mode a click selects the whole part; in Cube mode it selects a single cube, so you can pick just the base arm mesh, or just its overlay layer, and pose them separately. On desktop, Alt+click picks a single cube without switching modes.
Undo and redo (Ctrl+Z, Ctrl+Shift+Z) cover the pose and every other setting: materials, background, lights and visibility are all in the same history. The exceptions are the viewer's own controls, which change how the preview is drawn rather than what it contains: Smooth edges and the camera you drag with the mouse. Reset, next to the pose presets, puts every part back where it started.
How do I change the look: materials, lighting and shadows?
Materials. The Look settings hold the material options. Each one is a complete look: it sets the surface finish plus a matching lighting and tone style.
- Soft Toy - Matte molded-plastic with soft, even lighting; a cute Kinder-egg toy look (default).
- Glossy Toy - Shiny clearcoat finish with punchy product-shot lighting, like a vinyl figure.
- Clay - Ultra-matte, soft and slightly pastel; a modeling-clay feel.
- Plastic - Glossy clearcoat surface under a neutral studio light.
- Matte - Flat, non-reflective surface.
- Metallic - Shiny metallic appearance with strong reflections.
- Embossed - Unlit with thin bevelled edges that catch the light: cube edges facing the key light glint, edges facing away fall into shadow, the way Minecraft title art pops its block faces.
- Flat (Unlit) - No lighting or shading; shows the texture colors as-is.
Barebones (flat colors). Tick Barebones in the Look settings to flatten the skin's shading into flat colors, the look of the barebones resource pack. It merges each region's near-identical shades onto one color, so a shirt's light and dark teal become a single teal, while distinct colors and bold features (the mouth, the eyes) are kept. The Color similarity slider sets how aggressively similar colors merge: higher is flatter. It reprocesses whenever you change skin and works on any skin.
Smooth edges, on by default, supersamples the preview so the cube silhouettes are not jagged. Pixelated texture keeps the skin's pixels crisp; turn it off for a softened, filtered texture.
Lighting. The Lighting settings have the Key, Fill and Ambient sliders, and Move lights in viewport, which puts two colored spheres into the 3D view: the yellow sphere is the key light (the main directional one) and the blue sphere is the fill light (the softer secondary one). Click a sphere to select it, then drag the gizmo arrows to move that light around the model. Reset, next to the Lights heading, puts them back.
What's the difference between Shading and Ground shadow? Shading lets the model cast shadows onto itself, so the head darkens the torso and the arms darken the body. Ground shadow, which is on by default, drops a shadow onto the floor beneath the character, and its Intensity slider sets how dark it is. They are independent: use either, both, or neither.
Every one of these is undoable, like every other setting in the tool.
How do I frame the shot and export it as a PNG, GIF, GLB or OBJ?
Camera controls. Left-click drag orbits, right-click drag pans, and the scroll wheel zooms. The Camera settings hold the camera presets, and the number keys reach them too: 1 to 4 for Front, Back, Left and Right, 6 and 7 for Top and Bottom, 8 and 9 for the 45 degree views, and 0 to return to the default. Key 5 toggles orthographic, which is the projection this tool starts in: it removes perspective, so the avatar reads as a clean flat portrait. The same settings have Auto-rotate, which spins the model continuously, and Lock rotation, which freezes the orbit and shows the current azimuth and polar angles.
Export formats. Press Export in the Actions card.
- PNG - Square image at your chosen resolution. Supports transparent backgrounds.
- GIF - Animated 360° rotation from the current camera angle. Customize FPS (10–30) and duration (1–5 seconds).
- GLB - Binary glTF format, includes pose, textures, and materials. Best for importing into other 3D tools.
- OBJ - Wavefront OBJ format, widely compatible but does not include textures.
Can I save my settings and load them again later?
Yes. The gear button in the Actions card opens the settings config. Save copies or downloads a small .json file that captures your whole setup: the body type and skin, the material, background, shadows, outline, lighting, part visibility, the camera angle and the full pose. Load reads a config back, either by dropping the .json file onto the panel or by clicking to choose it, and applies it in one step that a single undo reverses. The skin travels inside the file, so a saved config is self-contained and easy to share.
Enjoying this tool?
Every tool here is completely free. If it saved you time, a small donation helps keep them running and growing.
Support NogardJoin the community
Get help, request features, share your avatars, and hear about new tools first on the Discord server.
Join Discord