

Minecraft Chibi Skin Maker
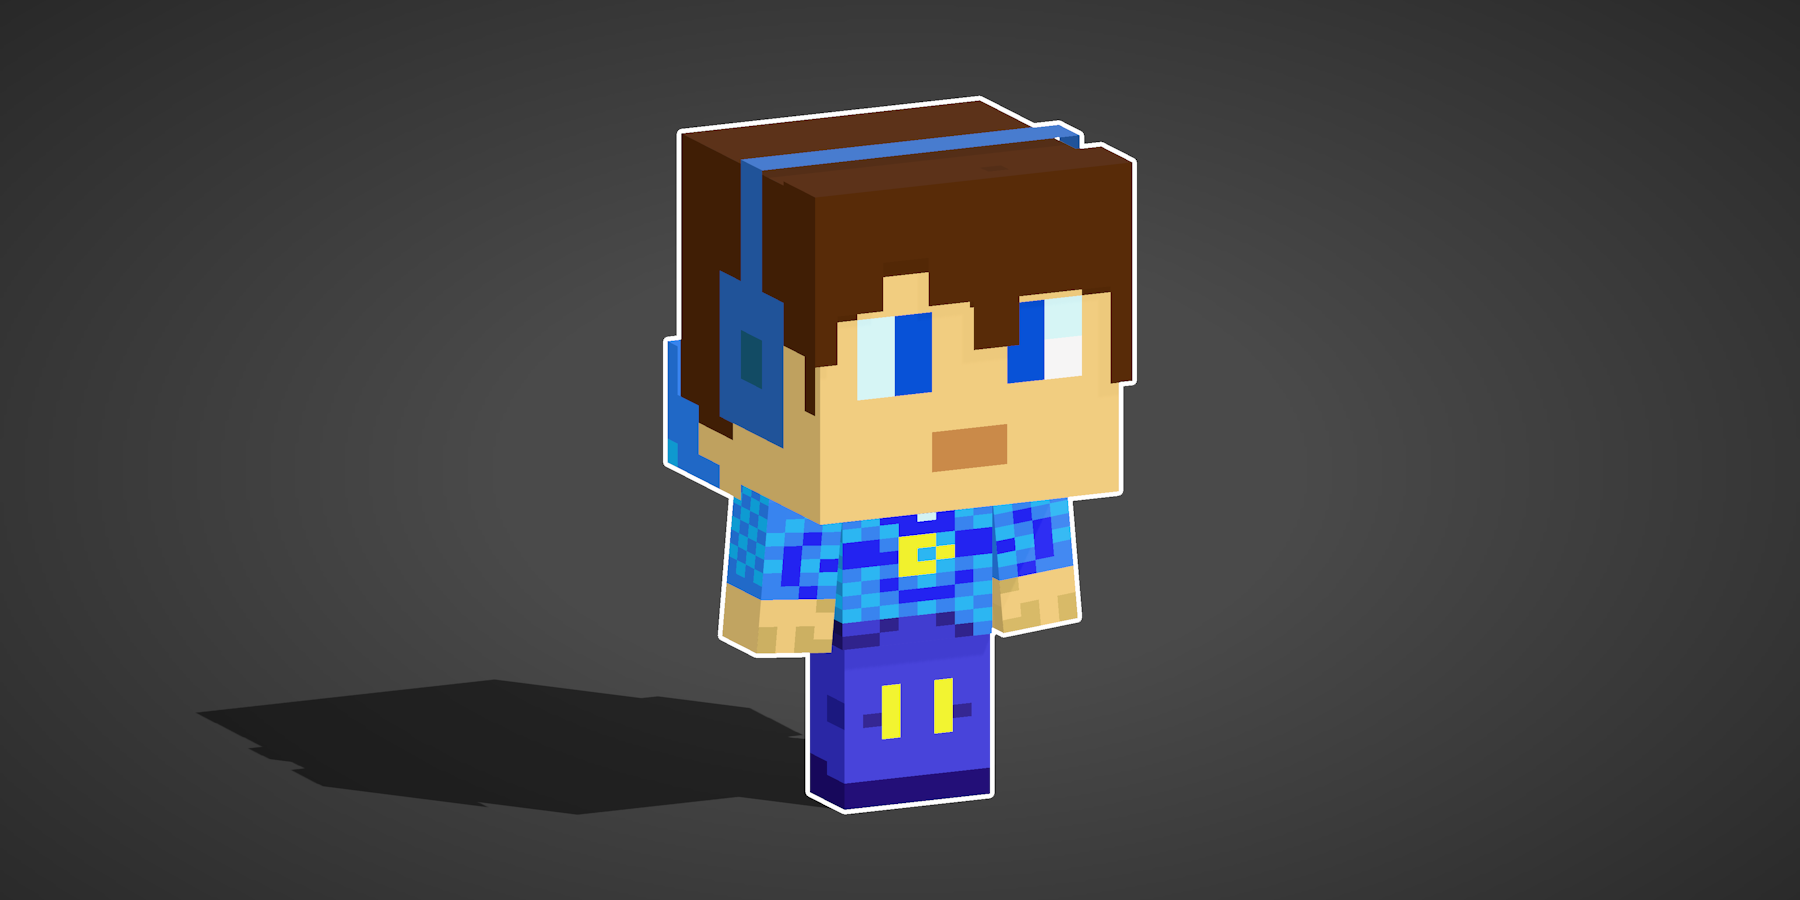
Turn your Minecraft skin into a chibi in a couple of clicks. Paste a Java username or drop in a skin PNG, and the Minecraft Chibi Skin Maker redraws it as a cute, big-headed 2D pixel-art character you can export as a transparent standing illustration or an animated chibi GIF, ready to drop in as a Discord icon, a Twitch emote, an avatar, or a YouTube thumbnail. Pick between two styles, the original Classic chibi or the chunkier Minecraft Live look, and either one draws all forty-four poses, ten camera angles and fifty-one animations. Everything runs locally in your browser, so your skin never leaves your computer, and the art stays crisp pixel art, sharpened by whole-number upscaling and never blurred.
Preview
Actions
Settings
Make an animated banner for your skin pack
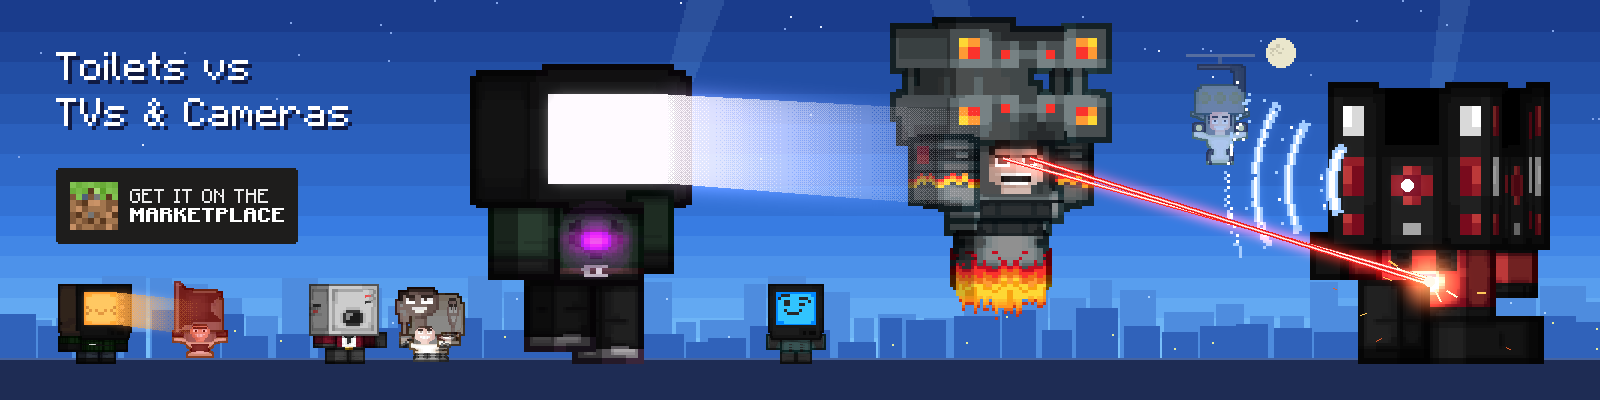
The banner below is our own Minecraft Marketplace pack, Toilets vs TVs & Cameras: every character in it is a skin from the pack, turned into a chibi with this tool and animated with its clips. The same few steps work for your skin pack, your server's staff or your channel art:
- One style for the whole cast. Keep every character in the same style (Minecraft Live here) and mirror the camera, 3/4 Right for one side and 3/4 Left for the other, so the two teams face each other.
- Inner faces for hollow skins. Skins built out of holes, like the toilet bowls here, need Inner faces ticked in the Look settings, or you see straight through them.
- Export on a transparent background. Save each clip as an APNG or GIF and layer them over your own scene: Sprint to rush in, Hurt and Death for a knockout, Vanish to blip out, Celebrate for the win.
- Save a config per character with the gear button, so the whole cast can be exported again at a new size later.
FAQ
How do I load my Minecraft skin, and which skin sizes are supported?
There are three ways to load a skin:
- Username - Type your Minecraft Java Edition username and click Load (or press Enter) to fetch it automatically.
- File upload - In the Skin tab, click the upload area ("Drop a skin PNG here or click to upload") and pick a file from your computer.
- Drag and drop - Drop a skin PNG straight onto the preview, or onto that upload area. It lights up as a drop target.
Standard 64x64, legacy 64x32, and HD skins at any power-of-two size: 128x128, 256x256, 512x512 and up. The rule is simply a 1:1 or 2:1 image whose width is a power of two. Sprite size depends on the style: the Classic chibi is always 24x33, and the Minecraft Live chibi is 36x42 at Native resolution. An HD skin is sampled at its native resolution rather than squashed down first, so a 128x128 skin's face lands pixel-for-pixel on the head. In the Live style an HD skin also renders larger: any skin above 64x64 is drawn at High res, where the whole sprite scales by the skin's HD factor and Native is grayed out for that skin. The Pixelated setting keeps the edges crisp.
Once a skin is loaded, the Skin card lists it by name and size, with a button to download that skin sheet again as a PNG (handy for keeping a skin you fetched by username) and one to remove it and go back to the default Steve or Alex skin.
What is "8px UV height"? Standard skins give the body, arms and legs 12 pixels of vertical texture space. Some specialised skins pack that detail into only 8 pixels instead. If yours is one of them, tick 8px UV height in the Skin settings and the viewer remaps the UVs so the texture is not stretched. Leave it off for normal Minecraft skins.
What's the difference between Steve and Alex?
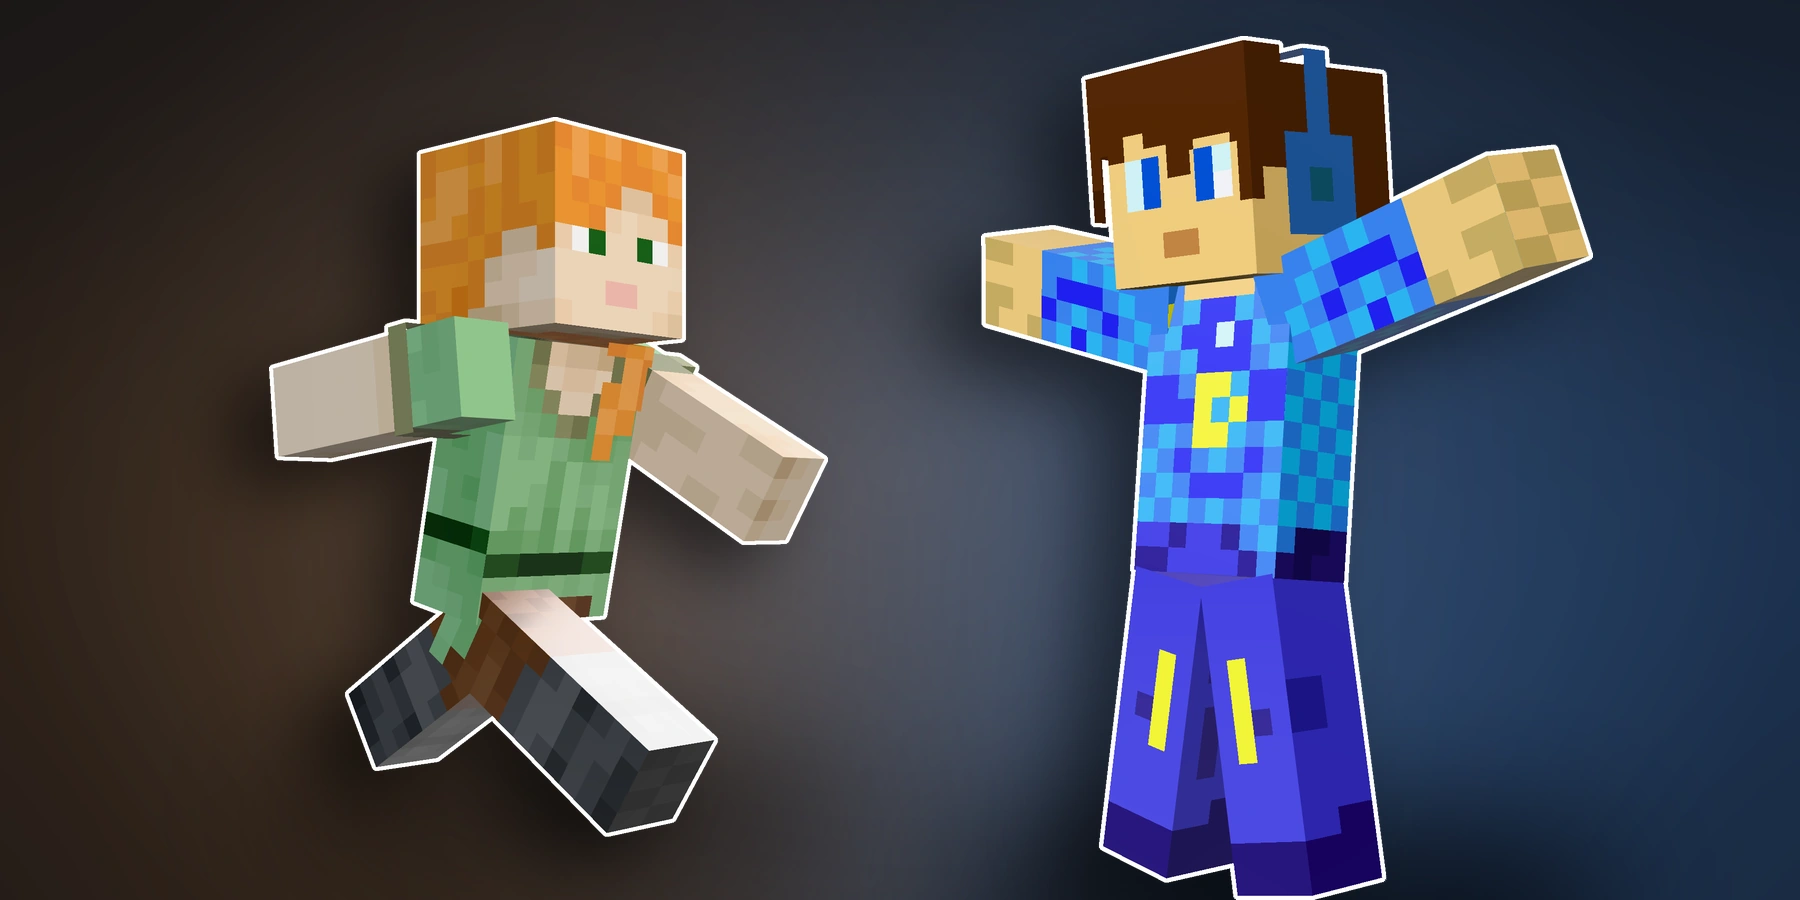
Steve has 4-pixel wide arms, Alex has 3-pixel wide arms. These are Minecraft's two default player models (the classic and slim body types), and using the wrong one makes the arm texture render incorrectly.
You should not have to care. The switch sits at the top of the Skin card and is set to Auto, which reads the body type straight out of the skin: a slim skin leaves the wide-only strips of its texture empty, so the tool can simply look. Once a skin is loaded, Auto marks the type it picked with a dot under the Steve or Alex button.
Pick Steve or Alex yourself and that choice is locked: loading another skin will not overrule you. Go back to Auto and it re-reads the skin you already have. Switching between the two keeps your pose and your skin.
What's the difference between the Classic and Minecraft Live styles?
Style, at the top of the Skin tab, picks which chibi gets drawn.
- Classic - the original 24x33 pixel-art sprite this tool was built on.
- Minecraft Live - the chunkier avatar look from the show: a 36x42 sprite with a much bigger head, rounder proportions and an inked line drawn around each part.
Neither is a crop or a filter. They are two separate sprites built from the same skin, so switching redraws the figure and keeps everything else you have set.
Both styles draw the same surface: all 44 poses, all 10 camera angles, all four bust crops and all 57 animations. Nothing is grayed out in one and not the other.
Resolution is in both styles, and each style remembers its own: Live starts on Native and Classic on High res. In Live, Native is the reference art's own chunky blocks, where every skin renders at one size, and High res is one pixel per skin texel, where an HD skin renders larger. In Classic, Native draws the body in 2x2 blocks, the same size as the face's texels, the way Minecraft's own pixel art draws it, and keeps the rows that art keeps: the collar, the cuffs and a belt. Every edge of the body sits on the face's 2-pixel grid, so there are no half blocks, and a limb can come out a pixel wider or narrower than in High res: in the three-quarter views the near leg is a block wider than the far one, and the side face of an arm is two blocks wide. High res is the original sprite, with a pixel per texel on the body. A skin above 64x64 always renders High res, so Native is grayed out for it.
Live also starts with a 1-pixel line where Classic starts at 0, with Color from the art already on where Classic starts with it off, and with Outline each part on where Classic rings the whole figure. Each style remembers its own outline width and its own answer to both switches. The style is saved in the settings config, so a Live setup comes back as Live.
How do I pose the model?
Open the Pose tab and pick a preset: Standing, Waving, Handshake, Zombie, T-Pose, Sitting, Dab, Crouching, All Fours, Pleading, Sword, Stab, Mining, Pick Swing, Block, Placing Block, Eating, Golden Apple, Drinking, Totem, Pumpkin Head, Jack o'Lantern, White Pumpkin, White Lantern, Salute, Bowing, Surprised, Celebrating, Looking Left, Looking Right, Skipping, Sprinting, Sneaking, Pouncing, In Love, Crying, Hurt, On Fire, Level Up, Vanishing, Creeper, Villager, Enderman or Death. That is one click and it is all there is to it.
Poses follow the character into every camera: the 3/4 views, the front, back, side and back-3/4 angles, and even the top and bottom views. Below the presets, the Busts group crops the shot: Full Body, Half Body (waist up, so the arms and the whole gesture stay in frame), Portrait (head and shoulders, the profile picture crop) and Head. A crop is not a pose, so it keeps whichever pose you picked and works at any of the ten camera angles - a waving portrait from a side profile is one click each. The Head crop draws the head alone, so a pose has nothing left in frame to show.
Poses and animations are exclusive: picking a pose switches off any running animation, and picking an animation puts the figure back to Standing, except for Prowl, Crawl, Gallop, Pounce and Rainbow Gallop, which are the All Fours clips and stand the figure on all fours instead. Either swap is a single undo step.
Undo and redo (Ctrl+Z, Ctrl+Shift+Z) cover the pose and every other setting: materials, background, shading and visibility are all in the same history. The one exception is the preview's zoom and the character's placement inside a badge; double-click the preview to reset those. Reset, next to the pose presets, puts the avatar back to Standing.
How do I change the look: materials, lighting and shadows?
Materials. The Look settings hold the material options. A material is a tone pass over the finished sprite: it shifts the colors' saturation, contrast and brightness, and a couple of them add an edge treatment. The shading is the same for every material; only Flat (Unlit) switches it off.
- Soft Toy - The colors as composed, a soft matte molded-plastic look (default).
- Glossy Toy - Punchier saturation and contrast with a brightened top edge, like a vinyl figure catching a highlight.
- Clay - Desaturated, soft and slightly brightened; a modeling-clay feel.
- Plastic - More saturated with harder contrast.
- Matte - Slightly desaturated and low-contrast, flat and calm.
- Metallic - Colors drained almost to gray with the contrast pushed up, a cold pewter read.
- Embossed - Darkens a one-pixel rim all the way around the silhouette so the sprite reads as pressed relief, the way Minecraft title art pops its block faces. It keeps the normal shading.
- Flat (Unlit) - No shading at all; shows the texture colors as-is.
Barebones (flat colors). Tick Barebones in the Look settings to flatten the skin's shading into flat colors, the look of the barebones resource pack. It merges each region's near-identical shades onto one color, so a shirt's light and dark teal become a single teal, while distinct colors and bold features (the mouth, the eyes) are kept. The Color similarity slider sets how aggressively similar colors merge: higher is flatter. It reprocesses whenever you change skin and works on any skin.
Inner faces. Tick Inner faces in the Look settings to draw the inside of each box through the see-through pixels of its faces, the way the game shows a hollow skin: a skin built out of holes, like a toilet bowl or a helmet, renders with its insides in shadow instead of gaps straight through it. It is off by default and works in both styles.
Outline. Thickness in the Look settings traces the whole chibi with an outline, from 0 (off) up to 10 sprite pixels. Color from the art takes the line color from the pixels it borders, a darkened version of whatever it runs alongside, so hair inks darker than skin and a shirt inks in its own hue instead of everything sharing one flat outline. It works in both styles and is on by default in Minecraft Live, off in Classic; untick it and the color picker below applies instead. Outline each part decides where the line goes: on, every limb is inked separately, so a line runs between the arm and the body; off, one ring traces the whole figure. It starts on in Minecraft Live and off in Classic, the way the two styles have always drawn, and each style remembers its own answer. Sharp corners squares the ring's ends rather than rounding them, and applies wherever that ring is drawn - the whole-figure line in either style, and Classic's per-part line - but not to Live's per-part ink, which walks its own square rings. Live also starts at 1 pixel rather than 0. The outline is baked into PNG and GIF exports.
Background. The Look settings also hold six preset colors, a custom color picker and an image tile: pick a picture and it fills the frame, cover-fitted. Transparent is ticked by default, which is why exported PNGs come out with no background; untick it (or pick a color or image) to fill it, and Vignette then darkens the edges. All of it bakes into the export.
Pixelated texture, in the Skin settings, keeps the skin's pixels crisp when the preview scales the sprite up; turn it off for a softened preview. Exports stay crisp either way.
Lighting and shading. The whole lighting model is the baked shading pass: the squished side faces render slightly darker than the fronts, and the shoulder line (plus the arm crease and far leg, when ticked) picks up soft shadows, which is what gives the sprite its depth. The Shadow strength slider (default 55) sets how hard that pass darkens: 0 removes it completely, around 50 is the calibrated reference look, and 100 pushes every shaded area to black. Layer casts shadow, in the same Shading group, is off by default and adds a drop shadow from the skin's second layer onto the skin just below its edge - hair onto the face, a jacket hem onto the body - traced from that layer's own shape, so it follows whatever the skin author drew; it applies to the Classic style. Head casts shadow, just above it, is on by default and works in both styles too: it is the head's own contact shadow, the line it drops on the shoulders in Classic and the band under the whole skull in Minecraft Live, and it is what sits the head on the body instead of letting it float. Unticking it lights the figure flat under the chin and leaves every other shadow in the pass alone, the arm crease and the far leg included. It shows in every camera except directly above or below, where there are no shoulders to catch it, and it never lands on a held item such as the block. Body casts shadow, below it, is on by default and is Minecraft Live only: it is the band the torso drops on the legs under it (and on an arm or a held item where one hangs below the body), and when the legs swing in the Sprint it follows each leg's slant round onto its side. Unticking it lights the legs flat up to the hip and leaves the head's shadow alone. The Classic style draws no shadow under the body, so the control is grayed out there. Shade the arm crease, below it, is Classic only: it is the one-pixel column where the far arm meets the body, the shadow that keeps the two from reading as a single slab, and it is drawn in the 3/4 cameras it was measured on, so a profile or a straight-on view looks the same either way. It starts ticked for Alex and unticked for Steve, and unticked for Alex as well when Classic draws at Native resolution; it follows the body type and the resolution until you tick or untick it yourself, and after that it keeps your choice whatever skin you load. Ticking it adds that column and nothing else. The Minecraft Live style dims the whole of that arm instead of creasing it, so the control is grayed out there. Shade the far leg, at the bottom of the group, is off by default and works in both styles: ticking it dims the leg on the far side of the body so it reads as further away, and unticked that leg is lit like the near one, except in the Classic Sprint seen in profile, where the legs swing wide apart and the far one is always dimmed, as its far arm is.
Every one of these is undoable, like everything else in the tool.
How do I animate my chibi?
Open the Animation tab and pick a clip. There are 57, laid out in pairs so a clip sits beside its twin: Idle, Walk, Run, Sprint, Skip, Jump, MC Jump, Wave, Nod, Head shake, Clap, Cheer, Celebrate, Sulk, Cry, Joy, Surprised, Bow, Bounce, Dance, Piglin Dance, Shiver, Idle Sway, Turn around, Spin, Stab, Mine, Block Walk, Place Block, Pumpkin Head, White Pumpkin, Pumpkin Walk, Pumpkin Zombie, Eat, Golden Apple, Drink Potion, Totem, Level Up, Love, On Fire, On Fire Panic, Vanish, Enderman, Hurt, Death, Prowl, Crawl, Gallop, Rainbow Gallop, Pounce, Creeper Walk, Creeper, Explosion, Zombie, Villager Walk, Sneak Walk and Sneak Spam. MC Jump is the game's own hop, beside Jump; Piglin Dance is the T-pose's arms flapping like wings, beside Dance; White Pumpkin is Pumpkin Head with the pumpkin in white, whose eyes catch a yellow glint while its mouth stays dark; Pumpkin Walk and Pumpkin Zombie are the Walk and the Zombie wearing the carved pumpkin all the way; and Rainbow Gallop is the Gallop with a rainbow streaming out behind it. The preview starts playing it right away.
Animations and poses are exclusive, so picking a clip returns the figure to Standing, and Reset stops it. Until you pick a camera yourself, each clip opens on its own: Nod, Head shake, Clap, Joy, Surprised and Bow head-on, the rest on the 3/4 view. Once you pick one, every clip plays from it, and Reset in the Camera tab hands the choice back. MC Jump is the one clip that does not play from straight above or below, where up is toward the lens: it moves to the 3/4 view, and those two cameras grey out while it plays. The Speed control in the export panel plays the clip back from 0.5x to 2x, and the preview follows it, so the canvas shows exactly what the animated export writes: an endless loop at your current camera view, framing and background. Three animated formats sit above it as tiles: GIF, which works everywhere; APNG, which is what Signal and LINE require for animated stickers and what Discord takes at 320 x 320, and which comes out several times smaller than the GIF with soft edges instead of jagged ones; and WebM, Telegram's video sticker, which appears only on browsers that can record transparency.
Can I hide parts of the chibi?
Yes. Open the Parts tab and click the eye next to any part to hide it: Head, Body, the two arms and the two legs, each with its own outer layer (hat, jacket, sleeves and trouser overlays) that toggles separately. Hide a base part but keep its layer to show just the clothing, or hide a layer to strip it off.
Show all parts brings everything back, each toggle is undoable, and whatever you hide stays hidden in the exported PNG and GIF.
How do I export the chibi as a PNG?
Pick the shot first. The Camera settings choose the angle (the number keys 1 to 0 reach the ten standing views) and the Pose settings choose the stance. The dashed frame in the preview marks exactly what the file will contain.
Then press Export in the Actions card. The export panel opens on three format tiles, each showing the exact pixel size it will write:
- Pixel art - The character on its own, upscaled by a whole number so it is never resampled or blurred. The Size select has its true size (about 22 x 32 in Classic, larger in Minecraft Live and larger again for an HD skin) plus 2x, 4x, 8x, 16x and 32x upscales.
- Profile picture - The chibi centered on a square canvas, 1:1 by default. It comes out transparent; untick Transparent in the Look settings to fill it with your background.
- Round avatar - A circular badge with transparent corners, ready to upload as a Discord or YouTube picture.
With a badge format selected, scroll or pinch on the preview to resize the character inside the frame and drag to place it; double-click resets. That composition bakes into the file.
Fill the frame, the checkbox under the size, drops the default margin and scales the character to the largest whole-number size that fits, so it reaches the top and bottom edges instead of sitting inside them. It is what you want for a Discord sticker, where the art has only 320 pixels to work with. It locks the scale to reach the edge exactly, so on a sprite whose height does not divide the canvas some pixel columns come out a shade wider than others; that is the cost of touching the edge, and it applies only while the box is ticked. Unticking returns to whole-number, evenly scaled pixels.
The same panel holds everything else: the aspect ratios (1:1, 4:3, 16:9, 4:5, 9:16), sizes from 28 to 4096 px, including the 320 x 320 that Discord requires for a sticker, the 128 x 128 that custom emoji use, and the three squares Twitch asks for an emote: 28 x 28 for standard web chat, 56 x 56 for high-DPI and Retina displays, and 112 x 112 for large screens and the TV apps (the Size select labels each of these, and only when the frame is square), Copy PNG, and the animated GIF with a Speed select from 0.5x to 2x.
Every layout uses your current camera view, pose and background settings (the vignette bakes in too). Download PNG saves the file; Copy PNG puts the image straight on the clipboard. The animated Download button exports the animation picked in the Animation tab as an endless loop, at the same layout and framing, in whichever of GIF, APNG or WebM is selected, and the preview plays it at exactly that timing. Preview-only settings (the zoom, the pan and the Pixelated texture checkbox) are never baked in.
Can I save my settings and load them again later?
Yes. The gear button in the Actions card opens the settings config. Save copies or downloads a small .json file that captures your whole setup: the chibi style (Classic or Minecraft Live) and its Resolution, plus the body type and skin, the material, background, outline, every shading switch, part visibility, the camera view, the framing (including a badge's shape, zoom and position), the pose, the animation, and the export size and playback speed the file would be written at. Load reads a config back, either by dropping the .json file onto the panel or by clicking to choose it, and applies it in one step that a single undo reverses. The skin travels inside the file, so a saved config is self-contained and easy to share.
Enjoying this tool?
Every tool here is completely free. If it saved you time, a small donation helps keep them running and growing.
Support NogardJoin the community
Get help, request features, share your avatars, and hear about new tools first on the Discord server.
Join Discord